
How to Choose the Right Heat Sealer for Pouches and Packaging Bags
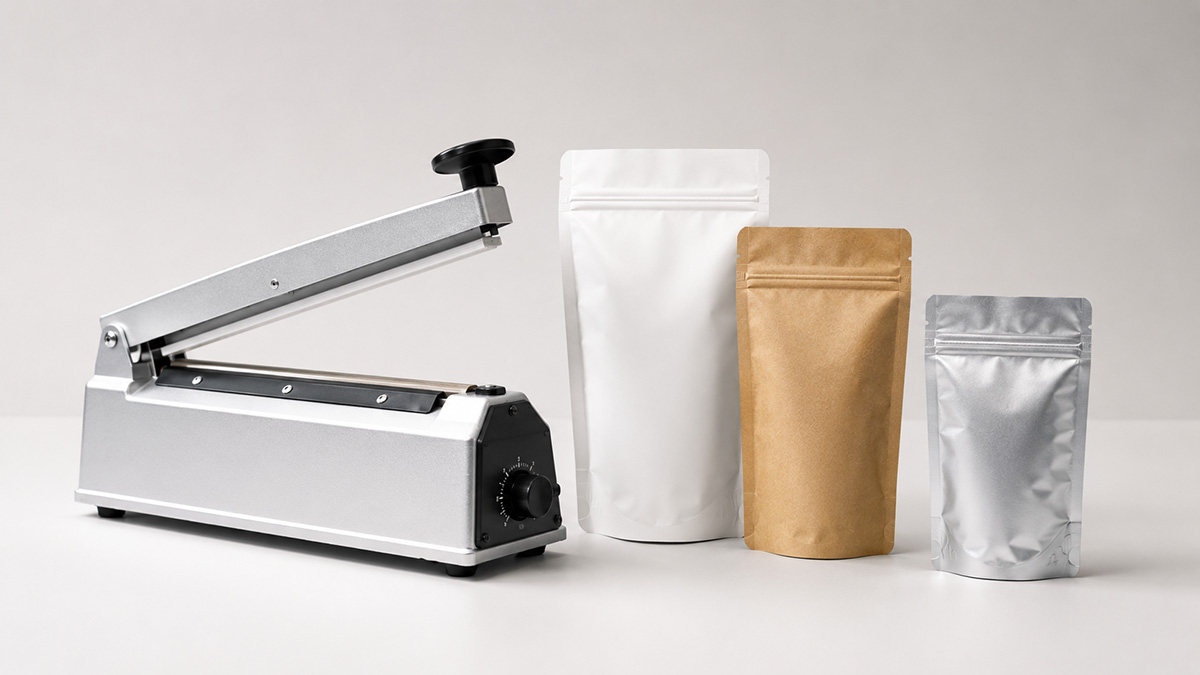
Choosing a heat sealer is not only about buying a machine with enough power. The right option depends on the pouches or bags being sealed, the width of the opening, the material structure, the number of packs handled each day and how the packing station is set up.
For businesses using pouch packaging, a reliable seal can affect presentation, handling and packing consistency. A heat sealer should therefore be chosen as part of the full packaging workflow, not as a separate equipment decision made after the pouch has already been selected.
What does a heat sealer do?
A heat sealer uses heat and pressure to close the open edge of a suitable bag or pouch. In a retail or fulfilment setting, it is commonly used after a pouch has been filled, before the pack is labelled, boxed, stored or dispatched.
The aim is to create a neat and consistent top seal. The exact result depends on the bag material, seal area, temperature or timing setting, operator process and whether the seal line is clean before sealing. A good machine helps, but it cannot fully compensate for the wrong pouch size, a contaminated seal area or an inconsistent packing routine.
Start with the packaging bag, not the machine
Many buyers start by asking which heat sealer is best. A better first question is: what are you sealing, and how often? A small team sealing short runs of sample packs has different needs from a fulfilment team sealing hundreds of pouches in a consistent daily workflow.
Before comparing heat sealers, check the pouch width, material, thickness, fill level, zipper position, label area and the amount of space left above the product. These practical details often decide whether a sealer feels easy to use or becomes a bottleneck at the packing bench.
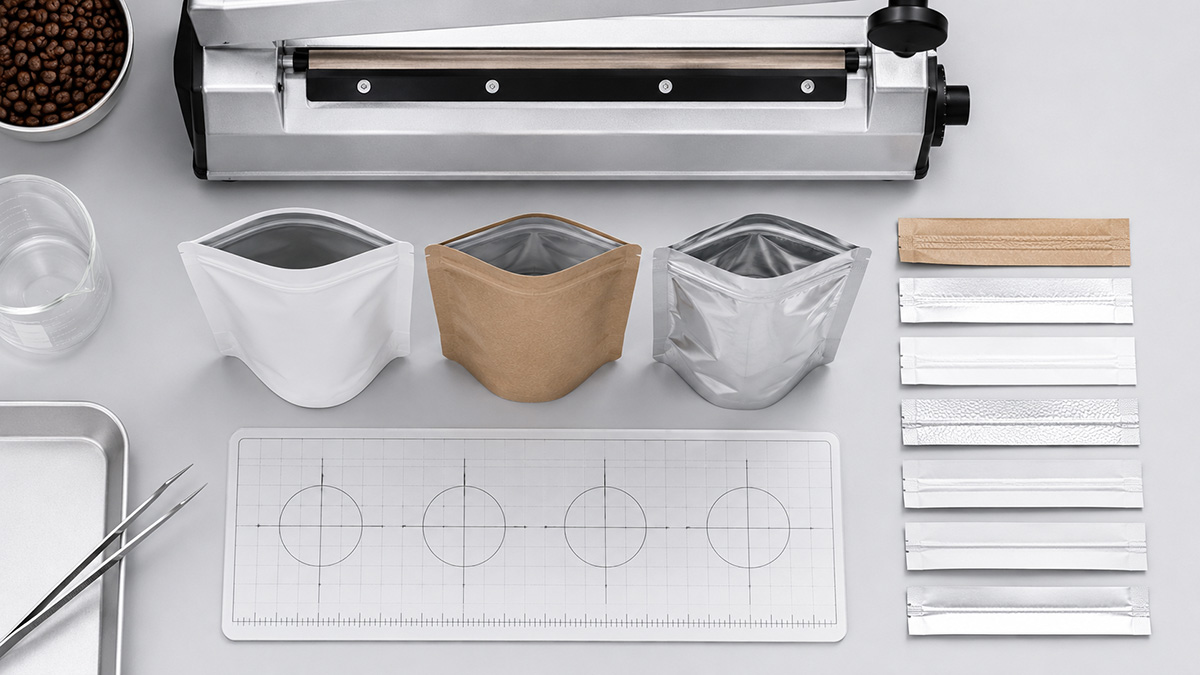
Image Prompt – In-content Image 1: Top-down technical product testing layout on a pale grey laboratory-style tabletop, showing a heat sealer bar, three pouch openings, a blank measuring guide with no numbers, and sample sealed strips arranged neatly. Use bright analytical lighting, clean geometric composition, cool grey and white tones, no people, no logos, no readable text, 1600 x 900 ratio.
Key factors when choosing a heat sealer
The most useful heat sealer is the one that matches the pack format and the packing process. The points below are usually more important than choosing by machine appearance alone.
Seal length and pouch width
Seal length should comfortably cover the full width of the pouch opening. If the bag is close to the maximum sealing length, the operator may have less room for error. A slightly awkward seal position can slow the packing process and make results less consistent across a batch.
When testing a sealer, use the actual pouch size after filling. A bag that lies flat when empty can become wider, rounder or harder to position once product is inside.
Bag material and thickness
Different pouch materials and structures can respond differently to heat. A thin clear pouch, a foil-lined pouch and a heavier retail pouch may not seal in exactly the same way. The sealer should be suitable for the type of packaging being used, and settings should be tested with the actual bag rather than assumed from a similar-looking sample.
Packing volume and operator workflow
Volume matters because sealing is rarely the only step. The operator may need to open the pouch, fill it, clean the seal area, align the top edge, seal, cool, check, label and pack into cartons. A machine that is acceptable for occasional small batches may feel slow if the same team needs to seal high volumes every day.
Zipper, valve and pouch format
A zipper does not automatically replace the need for heat sealing. Many retail pouches still use a top heat seal above the zipper so the pack looks finished before the customer opens it. Coffee bags may also include valves, while flat bottom pouches and other structured formats can require careful alignment so the top seal looks neat.
Product dust, crumbs and fill level
Powders, coffee, snacks, grains and similar dry goods can leave dust or small particles near the opening. If that material sits inside the seal line, the result may be weaker or less consistent. Fill level also matters because a bag packed too close to the top can be harder to align and seal cleanly.
Impulse heat sealers vs continuous sealing options
The right sealing approach depends on how flexible or repetitive the workflow is. Many businesses use impulse-style sealing for flexible small to medium batches, while more continuous sealing options may suit higher-volume workflows where bags can move through a more consistent process.
| Sealing approach | Often suits | What to check |
| Impulse heat sealer | Small to medium batches, flexible pouch sizes, simpler packing stations and products where each bag can be positioned manually. | Seal length, seal width, timing control, operator consistency and whether the pouch material seals cleanly. |
| Foot-operated or hands-free setup | Teams that need both hands to hold or align the pouch while sealing. | Bench layout, operator comfort, repeatability and whether the process reduces handling errors. |
| Continuous sealing option | Higher-volume workflows where packs can move through a more repetitive sealing process. | Daily volume, bag size consistency, space, operator training and whether the output justifies the setup. |
Choosing a heat sealer for common pouch types
The same sealer may not feel the same across every bag format. Testing with the intended pouch type is the safest way to avoid surprises.
Stand up pouches
Stand up pouches are widely used for dry foods, retail products, refills and samples. When sealing them, check the pouch width, zipper position and how much top area remains after filling. A pouch that is overfilled can be harder to keep flat at the seal line.
Flat bottom pouches
Flat bottom pouches can offer a stronger shelf presence, but their more structured base can make the filled bag sit differently during packing. Check whether the bag stands neatly while being filled and whether the top edge is easy to align before sealing.
Coffee bags
Coffee bags with valve may need extra attention around fill level, valve position and top seal space. Coffee beans and grounds can also create dust near the seal area, so the packing routine should keep the top edge clean before sealing.
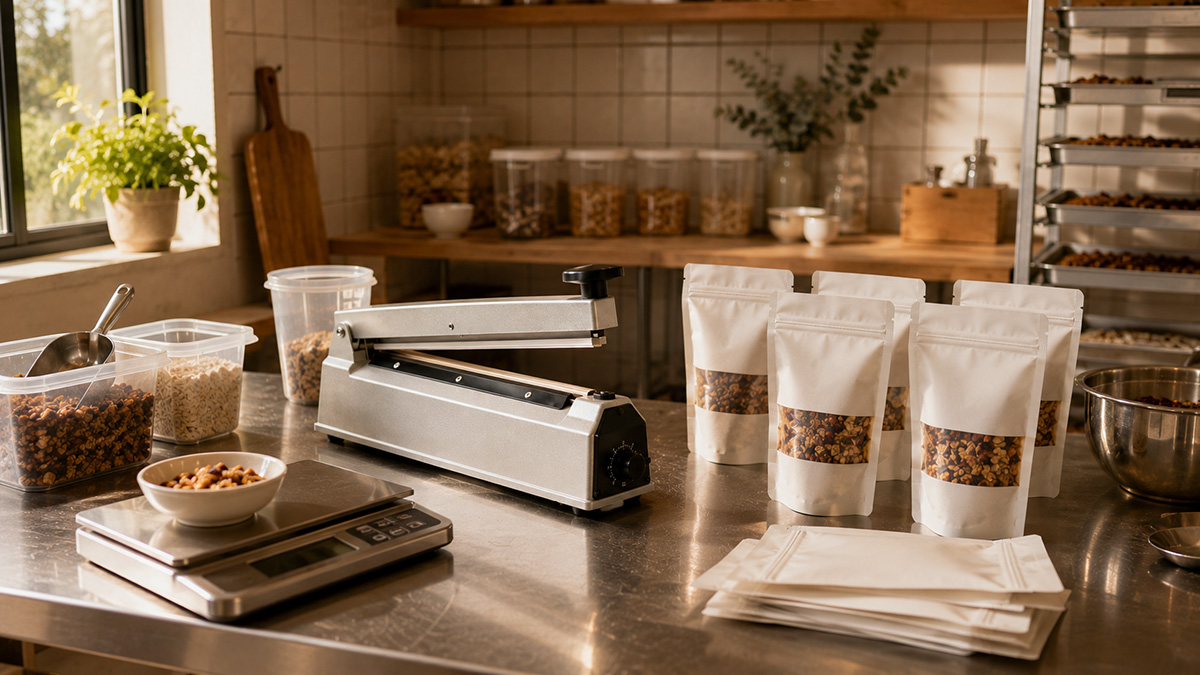
Common sealing problems and what to check first
If a seal looks uneven or does not hold properly, the machine is not always the only cause. Start with the simple checks below before changing the entire packing setup.
| Problem | First checks |
| Seal is weak or opens easily | Check the bag material, heat or time setting, seal width and whether the pouch was aligned evenly. |
| Seal looks burnt or distorted | Check whether the heat setting or contact time is too high for the material. |
| Seal is uneven across the pouch | Check pouch width, operator positioning and whether the opening is flat before sealing. |
| Seal area has gaps | Check for powder, crumbs, coffee grounds or product residue inside the seal line. |
| Packing feels slow | Review the full bench workflow, not just the machine speed: filling, cleaning, sealing, cooling, labelling and boxing. |
Heat sealer checklist before ordering
Before choosing a heat sealer, review the packaging and workflow together:
- What pouch or bag types will be sealed most often?
- What is the widest pouch opening that needs to be sealed?
- Does the sealer length allow comfortable positioning beyond the exact bag width?
- What material structures and thicknesses need to be sealed?
- Will the bags include zippers, valves, windows or thicker gusset areas?
- How many packs need to be sealed per day or per batch?
- Will one operator seal occasionally, or will sealing be part of a repeated fulfilment workflow?
- Can the seal area be kept clean from powders, crumbs or product dust?
- Is there enough space at the packing bench for filling, sealing, cooling, labelling and carton packing?
- Has the selected pouch been tested after filling, not just while empty?
A suitable heat sealer should make the packaging process more consistent, not more complicated. The best result usually comes from matching the sealer, pouch and packing process together, then testing the setup with the actual filled product before relying on it for regular production.
FAQ
What size heat sealer do I need for pouches?
Choose a heat sealer with enough sealing length for the full width of the pouch opening, with some working room for alignment. Test the actual filled pouch because the shape can change once product is inside.
Do zipper pouches still need to be heat sealed?
Many zipper pouches are still heat sealed above the zipper for retail presentation and handling before the customer opens the pack. The zipper is mainly for resealing after opening.
Why is my pouch seal not holding?
Common causes include unsuitable heat or timing settings, the wrong material for the sealer, product dust in the seal area, uneven positioning or not enough seal width.
Is an impulse heat sealer suitable for stand up pouches?
An impulse heat sealer can be suitable for many stand up pouches when the seal length, material and packing volume are appropriate. The best approach is to test the pouch after filling.
What is the difference between impulse sealing and continuous sealing?
Impulse sealing is often used for flexible small to medium batch work where each pouch is positioned manually. Continuous sealing options are more suited to repetitive higher-volume workflows where bags move through a more consistent sealing process.
Should I choose the pouch or the heat sealer first?
Start with the pouch and product requirements first, then choose a heat sealer that suits the pouch width, material and workflow. Choosing the machine first can lead to a setup that does not match the packaging format.

Posts Widget
- 1

- 2

- 3

- 4

- 5


Vivo Packaging Pty Ltd
Aussie Warehouse:
4 Tasman Ct, Keysborough VIC 3173, Australia
Monday – Friday: 9.30am – 5.30pm
Visitors By Appointment Only

Copyright 2026 © VIVO PACKAGING. ALL RIGHTS RESERVED.
